From Paper Register to Digital Guard Tour System in Six Steps
Create Site
Add your property — name, client, address and GPS coordinates — as a Site in GuardTour.
Add Checkpoints
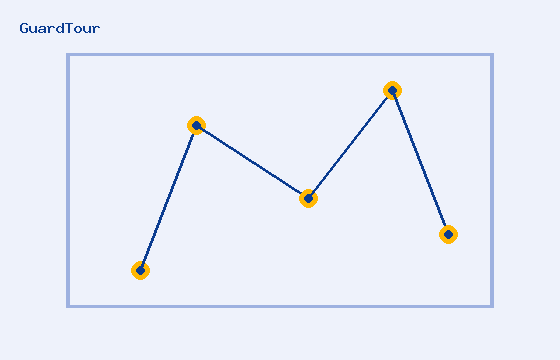
Define each patrol checkpoint (Main Gate, Parking, Block A, Block B, Fire Pump Room, Back Gate, Generator Room, Warehouse, Reception, Terrace) with GPS coordinates and an allowed radius.
Generate QR Codes
GuardTour generates a unique, secure QR code per checkpoint that links to a secret random token — download or print it as a label for that checkpoint.
Assign Guards & Routes
Build ordered patrol routes from your checkpoints and assign guards and shifts to them.
Guard Scans QR Codes
During the round, the guard opens the mobile guard app, taps Start Patrol, and scans each checkpoint QR code with their phone camera. GPS, time and device info are captured automatically.
Management Monitors Patrols
Supervisors and admins see live patrol status, completed vs missed checkpoints, incidents and compliance percentage on the dashboard.
GPS Verification, Explained
When a guard scans a QR code, GuardTour requests the phone's GPS location and calculates the distance to the checkpoint's stored coordinates using the Haversine formula. If the guard is within the allowed radius (for example 30 meters), the scan is marked GPS Verified. If not, it's flagged GPS Failed, and if location services are unavailable it's recorded as GPS Unavailable without blocking the scan — administrators decide whether GPS is mandatory per organization.